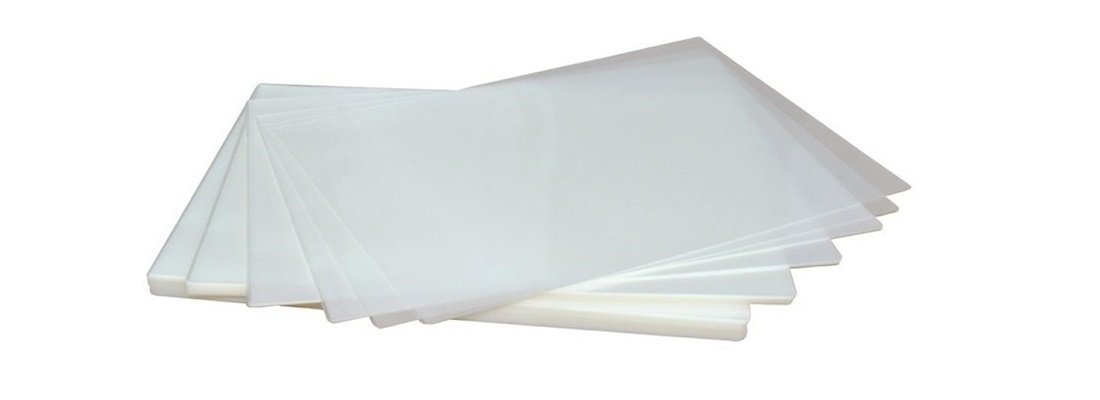
Lamination is a process of covering a printed product with a special film. The main purpose of it is to protect the materials from external influence, in particular from mechanical damage, direct sunlight, moisture impact, etc. The film for lamination also helps renew papers, make the colors brighter, and protect from temperature changes. Such a covering has high-level adhesion, so can be used on almost any surface.
The process of lamination can be hot and cold. The first method implies the printed product and film heating the temperature up to 158 degrees Fahrenheit. As a result, the mastic layer heats up and it becomes possible to coat the paper with a layer. The second method implicates that the film and the product don’t heat up, they only run through a press. The high pressure affects the glue, which sticks to the surface.
How to Laminate Paper without Machine
Quick Home-Laminating with Synthetic Paper and Iron

In order to laminate paper quickly and relatively easy, you have to prepare a laminating film (transparent matte/glossy pocket, connected on the one side) and heated iron. Pay attention that if the iron is overheated, the film may shrink and blister. The process itself is as follows:
- Put a sheet of paper inside the pocket.
- First, iron it from one side, then from the other one. Do it slowly, starting with the junction of the film, to get rid of the unnecessary air.
- If you are afraid that the film will stick to the iron, lay a white sheet of plain paper between them.
- In the case of an air bubble appearing, try to wipe the hot surface with a soft duster or pierce the bubble with a needle and iron it again.
- Leave the laminated paper to cool down.
Laminating Printed Products with Self-Adhesive Sheets
If you are wondering how to laminate at home with the help of self-sealing sheets, then follow the next steps:
- Place the object (photo or card) under the clear sheet (align center).
- Face down, bend the backing sheet to separate backing.
- Smooth and seal edges, while scaling down the pressure.
This laminating method is also useful for ID-cards, receipts, business cards, advertising presentations, posters, etc.
Budget but not Always Reliable Laminating with Clear Packing Tape
Before you will know how to laminate paper, you should understand that this type requires some patience and skills.
- You need to glue the tip of the tape to the edge of the paper.
- Then slowly and carefully move along its width to the other edge.
- Cut down the tape on the edges to put them in line.
The method is fraught with the bubbles formation and appearance of non-glued spaces between the strips of tape. It’s great only for small-sized documents.
AmazonBasics Laminating Sheets: Versatile and High-Impact Items

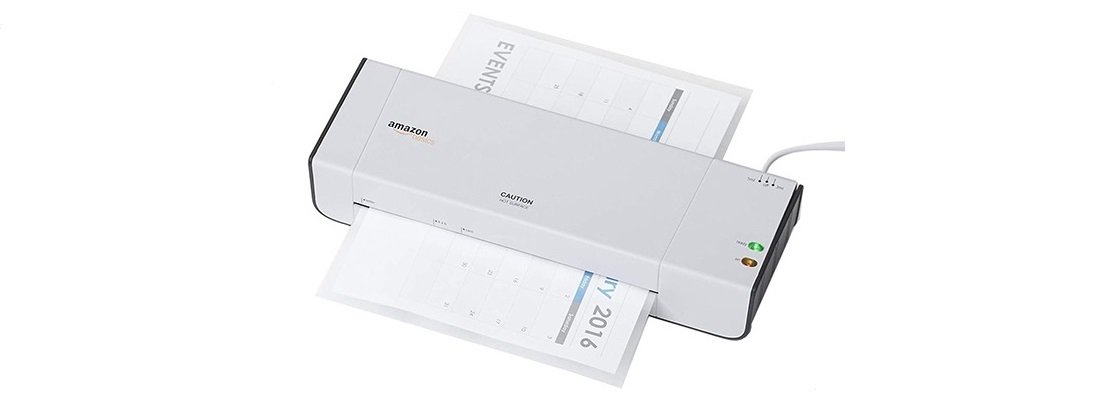
AmazonBasics letter size laminating pouch is one of the best products that is used together with leading laminators. The thickness of each is 3 millimeters, so it has to be enough for documents and cards life expectancy increasing. All the person needs is to place the document inside the pouch and put it into the device. It takes about two minutes to heat up, so this time can be used for the next sheets preparation. There are no bubbles after the pressing process. The product appears to be cold and ready for further usage. If you want to know how to laminate paper DIY, drawings, or greeting cards you can put into action the AmazonBasics size pouch and laminator.
Thermal Laminator Machine that Works with A3/A4/A6 Sheets

If there’s a need to laminate a lot of papers quick and you want to do this in a professional and reliable way, it’s better to use thermal laminator machine, which has very fast warming-up (3-5 minutes) and is compatible with A3/A4/A6 sheet sizes. The device contains hot and cold 2-roller system, so it has different pressure levels and protects the papers form bubbles appearing. The owner can easily choose the pouch thickness settings (via special switcher) and use the unit at home or in office. It’s definitely great that the machine doesn’t produce noise and warms up even under heavy loads. The paper jam prevention feature derives stuck elements without user involvement. The unit is really compact (16.6 x 4 x 4 inches) and doesn’t take much place on the table.
